
ORC Week 8, Part 2: Sloane's Closet Reveal!

Photo by Jenny Sherouse
It all started with a cheap wire shelf that fell down on Sloane one morning before school (she wasn’t hurt, luckily). We weren’t planning to tackle her closet this soon after our move, but lack of good clothing storage was making our mornings more hectic than needed. And we pass through this space every time we go to the playroom. It just made sense to start working on it sooner than later. Andrew led the design of this one given that he knew what we could tackle from a building perspective. Just for a bit of context, we’ve actually built fireplaces, concrete back patios, and little laundry closets together before. But every project comes with its own set of challenges.
We started sketching out designs (see below) that included racks for hanging clothes as well as an integrated dresser, and we ripped out the remaining wire shelves and old shoe rack on the floor. We referenced a few DIY examples that inspired us throughout the process, including this one by Chris Loves Julia and this one by Erin Kestenbaum. Our hope was to buy a Pax dresser to integrate into the closet (rather than build drawers from scratch), but of course nothing was available locally nor could we order anything in time to meet the One Room Challenge deadline.


After we ripped out the remaining wire shelves
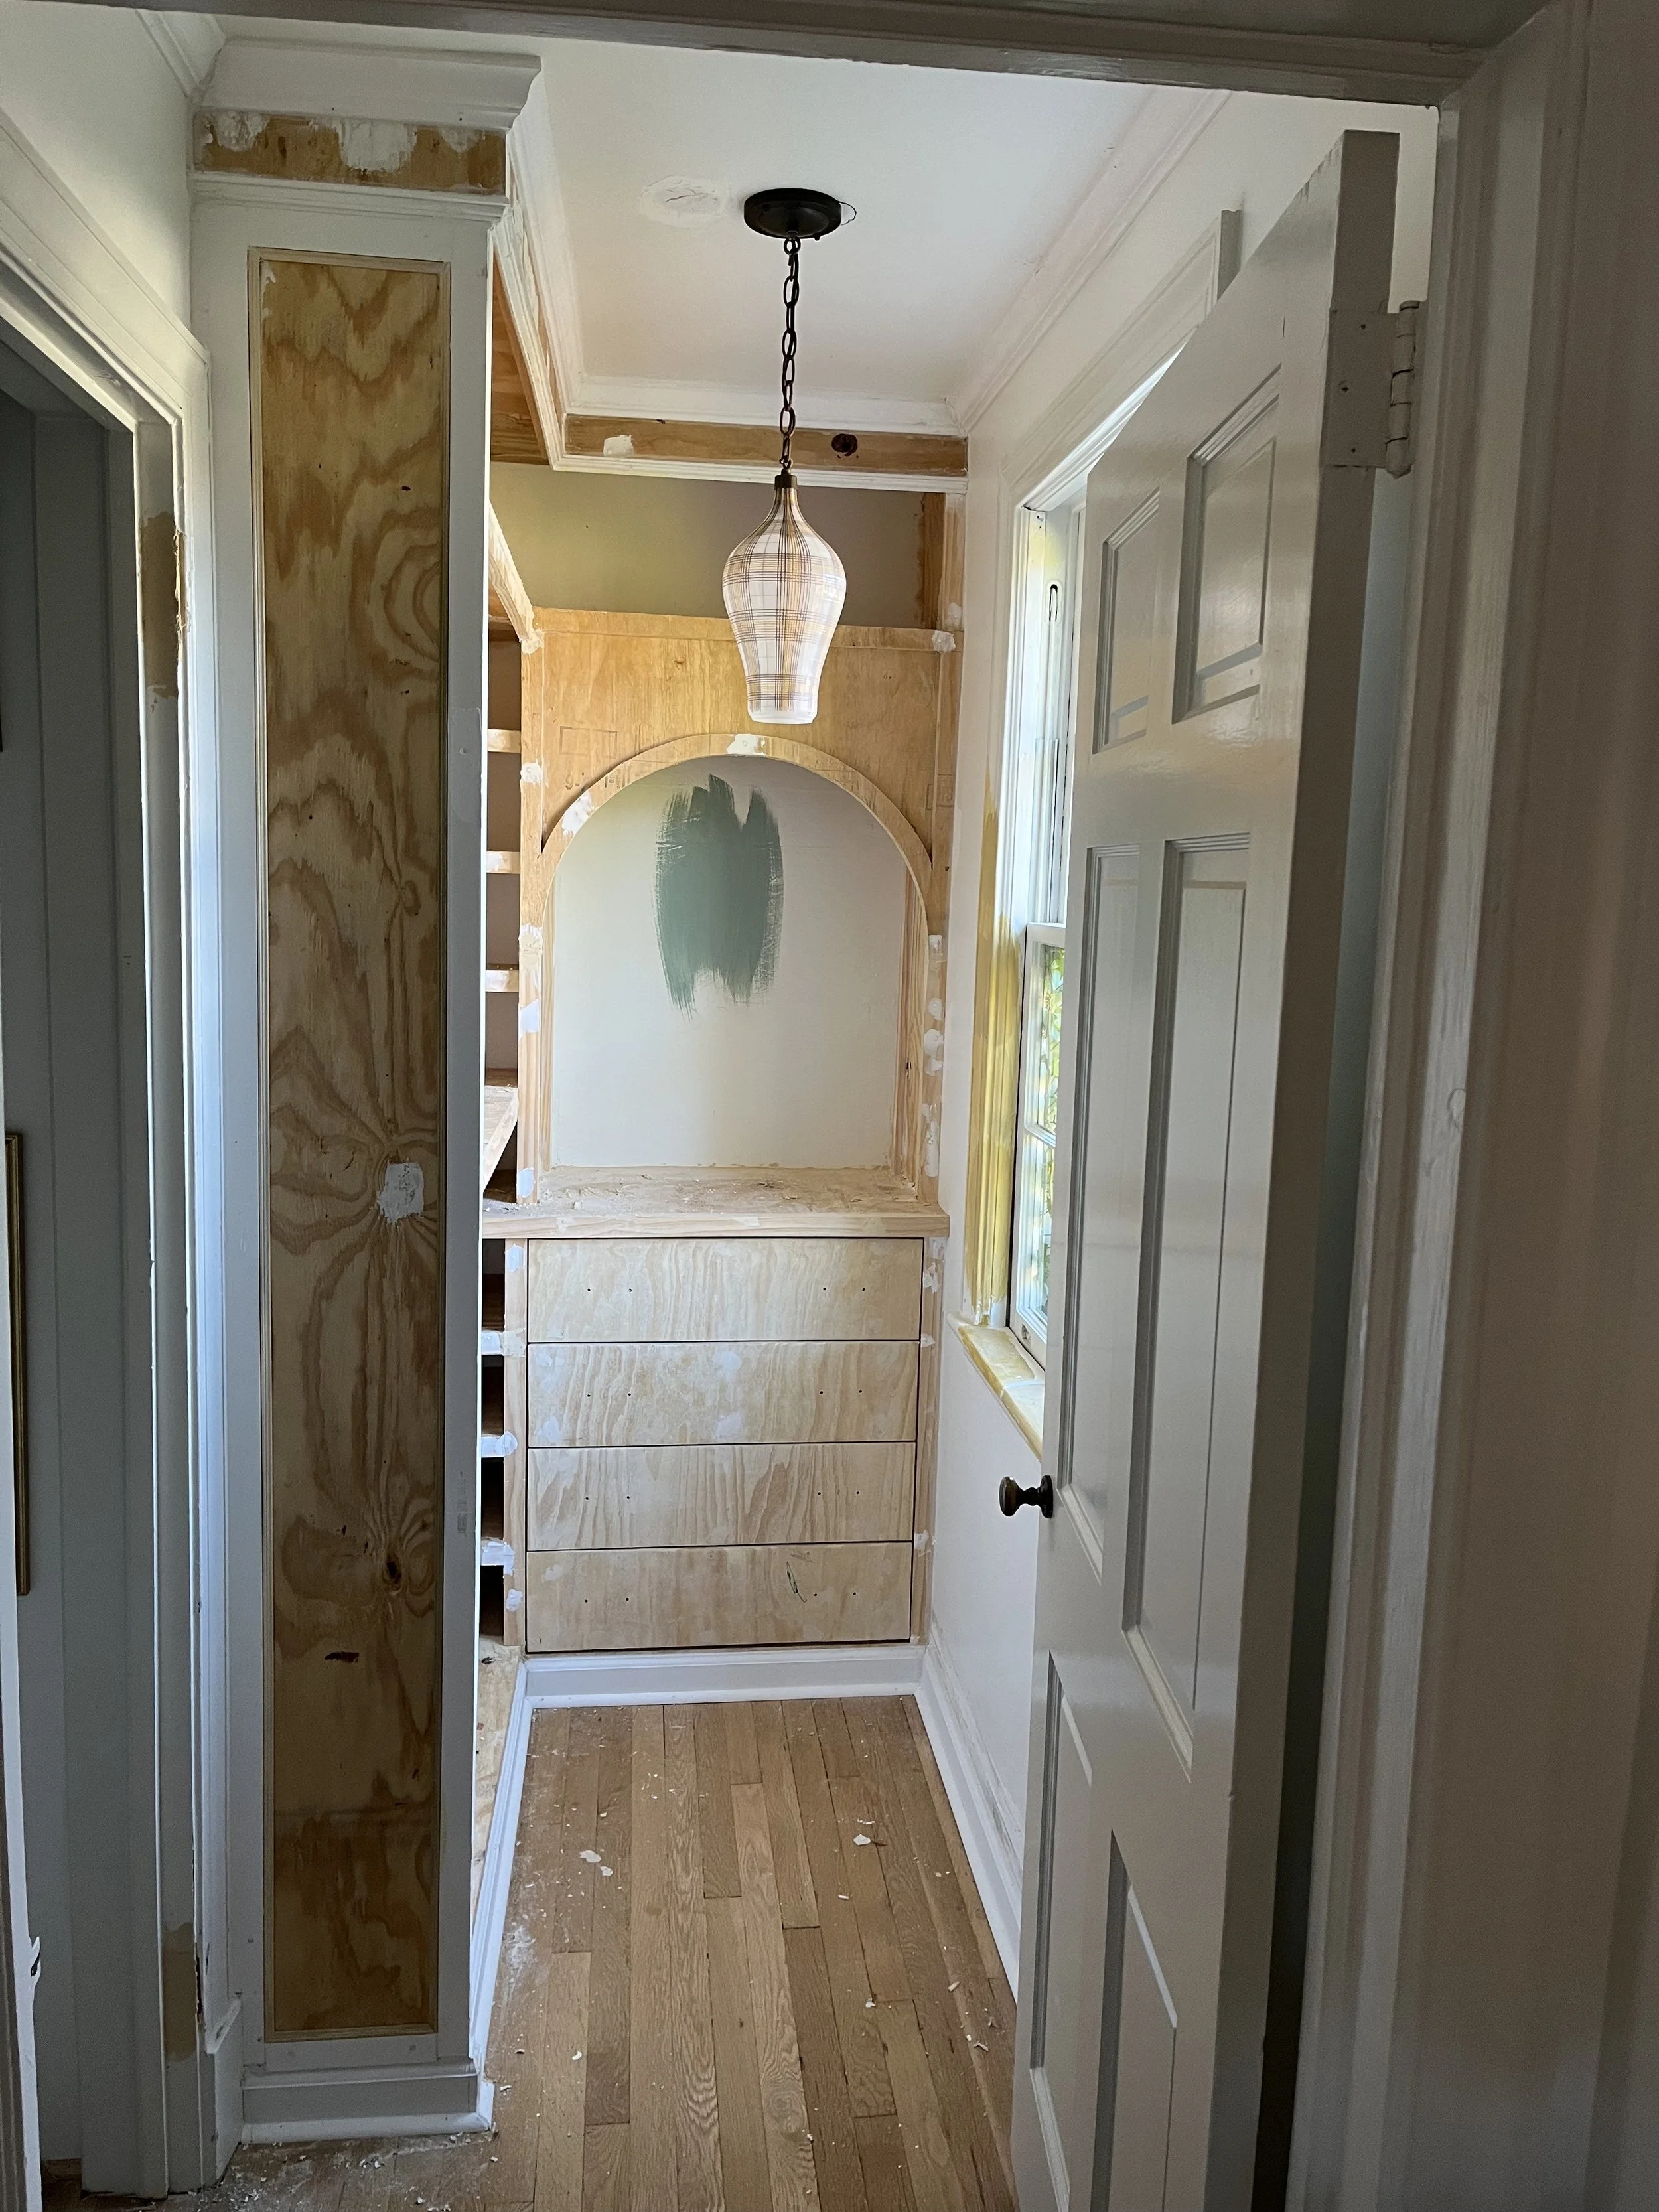
Luckily we found and ordered a dresser from Lowe’s that would ship in time and had the right measurements for our space. There’d be space above the dresser for maybe a mirror, but we knew our daughter is too short to see that high (of course she’ll grow, but we wanted to make sure the space functions well for her now, too). The plan was to find a stool for her to use and then install a bulletin board that she could tack on letters, jewelry, and photos for safekeeping. To make use of open space to the left of the dresser, we decided to build vertical cubbies for shoes and accessories, a pair of rods for hanging clothes, and upper shelves for off-season storage. And to make the whole thing feel tied to the upstairs playroom, we designed an integrated arch detail above the dresser.
Here’s a progression of the dresser as we’re framing it out to appear built-in. The existing dresser drawers sit on top of their frame, and we wanted the drawers to appear flush instead (like inset cabinets), so we cut, glued and screwed thicker wood trim on the outside of the frame and thinner plywood over the face of each drawer.


Adding wood putty to the drawer fronts to fill any gaps

Clamping the new wooden face to the drawer to ensure perfect alignment before glueing and screwing
Next we framed out the arch to mimic the arches up in the playroom, as well as added an outer frame to the adjacent wall to define a space for closet rods. We also determined that crown molding and baseboards would be essential in creating a custom look.


Once was the frame itself was built, we spent hours filling screw holes, caulking seams, adding drywall mud to cover plywood graining, and sanding the hell out of it. Pro tip: cover any doorways with plastic drop cloths to prevent dust from flying. Also wear eye/mouth protection and use tack cloths to clean up your mess and prepare for…paint! I’d considered painting the room that ochre color with white walls, but given how bright this space is, I decided to lean into the deeper green in the playroom wallpaper. I’d also found the sweetest rug on Etsy the week before, so I factored that into my paint selection as well.


Now for the fun part: lighting, hardware and accessories. I knew I’d be painting the trim in the stairwell the ochre color. So to tie the spaces together, I searched for pendants with personality and quick availability. Somehow I landed on a plaid tulip-shaped pendant on Etsy. Have you ever seen a plaid light fixture?! I had not. It’s totally unexpected and whimsical. Then when it came to hardware, I had my heart set on these bow handles by British designer Beata Heuman, but they were out of our budget. So I scoured eBay and landed on some super cute Keeler tulip-shaped brass pulls. With shipping, 8 of them cost me $45. That’s cheaper than Amazon and much more sustainable! I love that the silhouettes of the light and the pulls mirror one another. I polished them with a product named Brasso and now they look brand new.
Speaking of mirrors, a vintage white milk glass mirror that I’ve been hoarding for years came through in the clutch. I’d originally planned to hang a bulletin board behind the arch, but at 2am the night before the shoot, the damn board wouldn’t stick to the wall. I ran out to the store and bought another mirror that I didn’t love, and also tried hanging some artwork that didn’t feel quite right. As the photographer pulled up to the house, I tried one last option, added a velvet bow, and BOOM that was it.


Photo by Jenny Sherouse

Photo by Jenny Sherouse

Photo by Jenny Sherouse