
How I made: marbled lamp shades

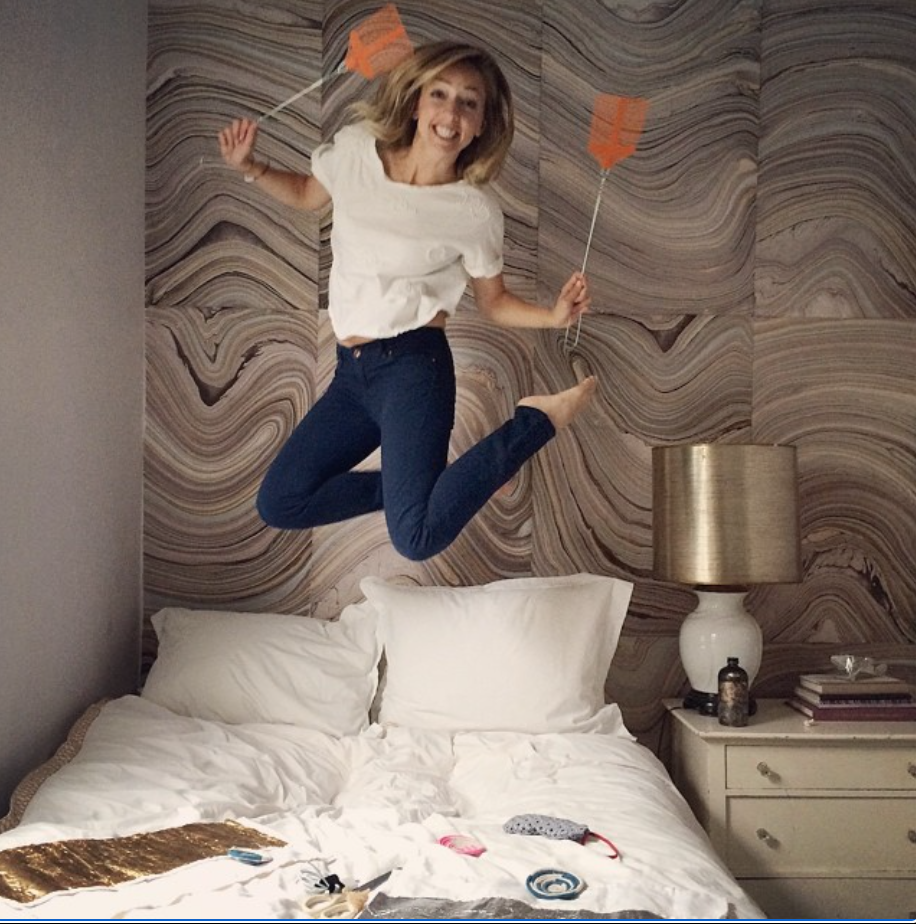
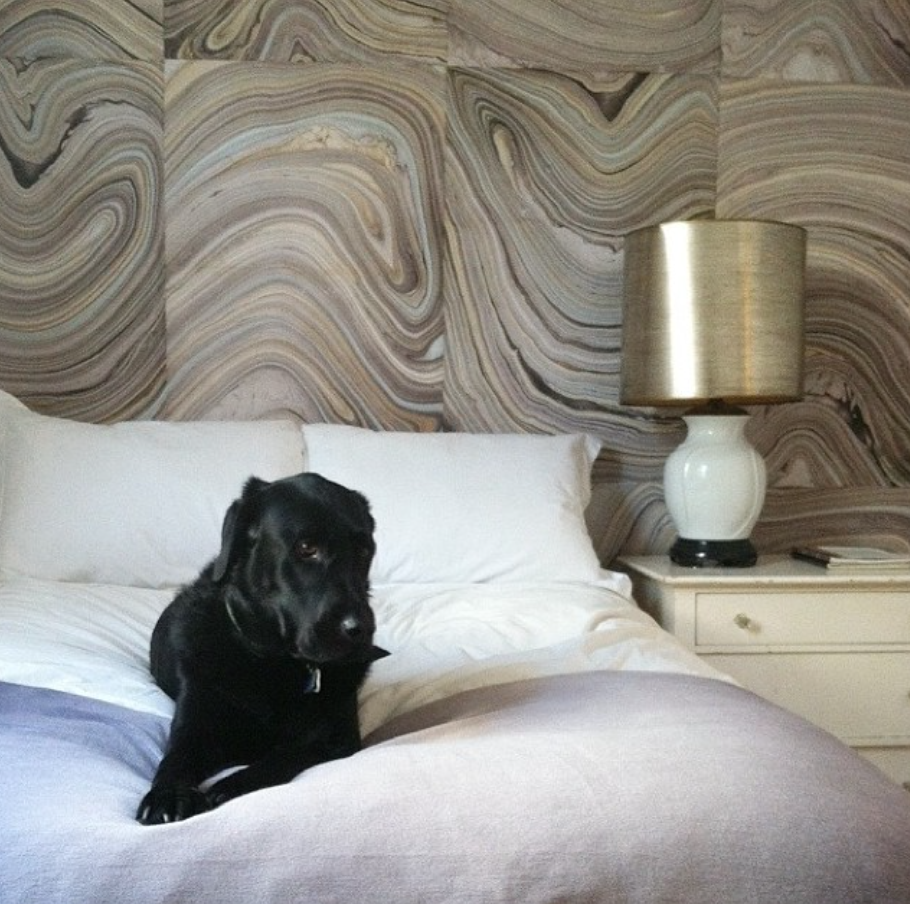
My love affair with marbled paper goes back a bit (long before this recent resurgence led by the growing popularity of British design). I’m pretty sure I had a marbled journal as a preteen at one point, and I think I toyed with using it in decor at my wedding in 2012. In 2014, when I found $2 a sheet marbled paper at the gift wrap store, I did what any normal person would do and bought a dozen sheets in order to wallpaper a guest bedroom wall with (see very grainy photos below for proof).
So when I recently scored a large designer brass chandelier at a discount retailer (retail: $1700, my price: $400), I decided it needed special lampshades to give it some pizzazz. It’s a classic piece, but doesn’t quite feel like me. So I purchased two packs of black lampshades with reflective gold interiors, dusty blue velvet ribbon, and this gorgeous Italian marbled paper and got to work.


Here’s what I did:
1) I used computer paper to draw and cut out a template for the lampshade.
2) Then using the template, I drew and cut out marble paper strips. Luckily I didn’t have to be too perfect given that I’d be concealing the edges with ribbon.
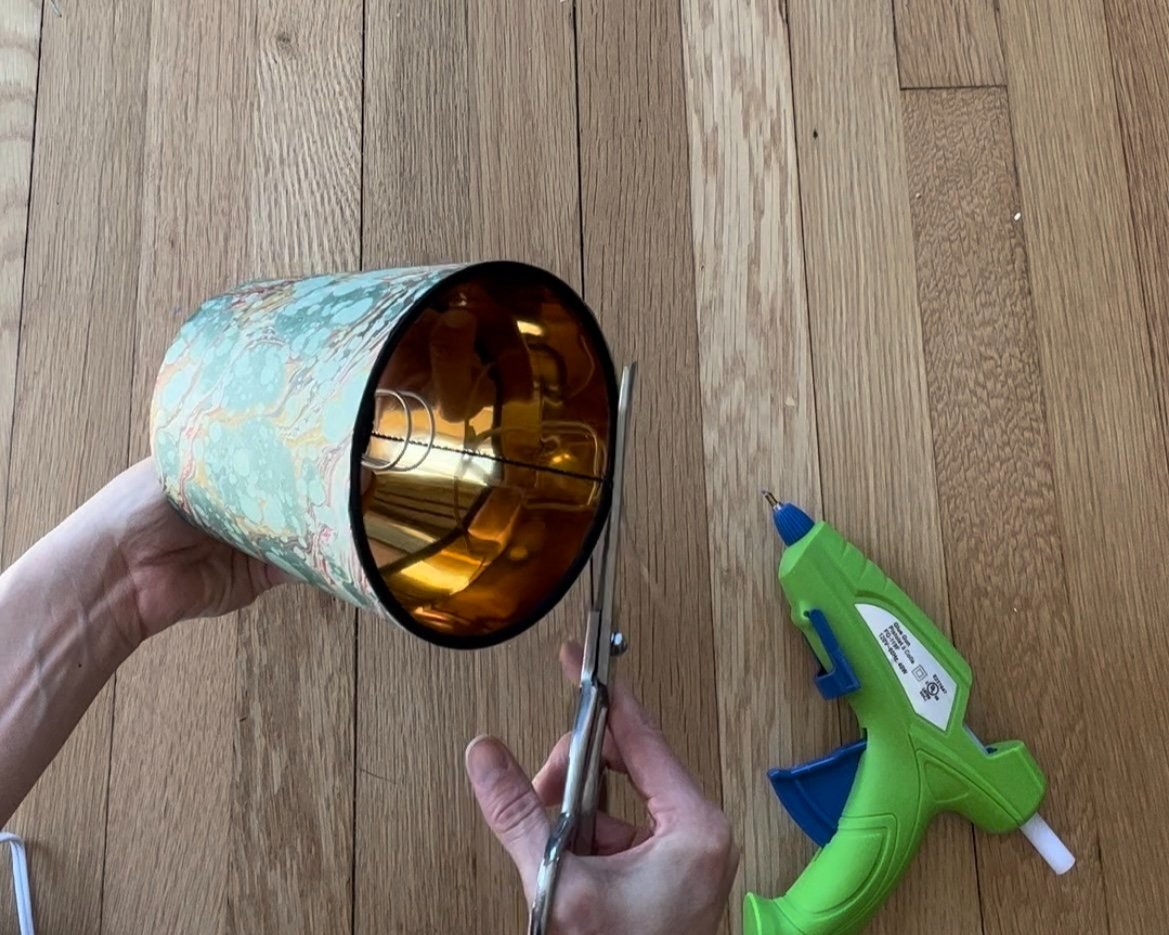
3) I secured the paper with a line of hot glue, carefully pressing the paper into place.
4) I trimmed any paper overhang.
5 + 6) I worked around the top and bottom edges of the shade, applying a small line of hot glue before carefully affixing the ribbon against the glue. I added a final ribbon inside the lampshade at the base just to cover any traces of the black shade and make it appear a bit more polished.


I’m crazy for how these look, and I really love that they’re totally original and totally me.
This post contains some affiliate links, which help support my business. Thanks for being here.